
Step 1.

Mark the ground to show the edge of where you would like your new garden to be.
Step 2.
Next, you will need to break through the sod or existing vegetation. Using a rear tine tiller with counter rotating tines, make full length passes through the garden until the entire area has been tilled. For new ground, we recommend using a hatching style of tilling. After your initial pass through the garden, rotate 90 degrees and cover the area again. Finally, rotate 45 degrees and make one last pass through the entire space, this ensures all ground has been broken.
Step 3.
Rake out the loose sod to reveal a clean soil seed bed.
Step 4.
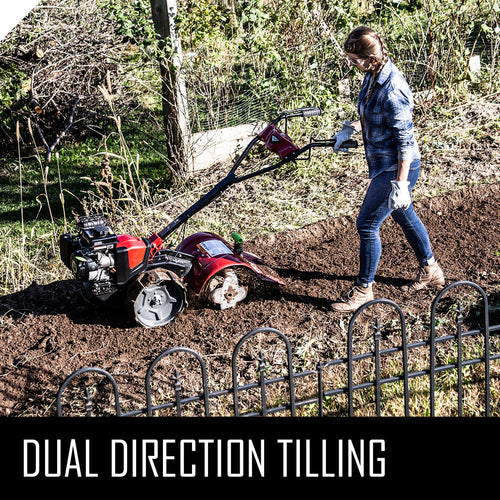
If you have a dual direction tiller such as the Earthquake Pioneer, run the tiller through the garden in SRT mode to even out the soil and create a consistent seed bed. This step can also be completed with a front tine tiller. At this stage, you can attach a hiller furrower to the rear tine tiller if you plan to create hills or furrows for your crop.
Step 5.
Now that the seed bed has been created. It is recommended that you take a soil sample to test for nutrient levels. Any soil additives such as lime, fertilizer or herbicides that need to be added, can be worked in with a cultivator, front tine tiller or rear tine tiller.
Step 6.
If you do not plan to plant immediately, adding a layer of mulch to your garden is an effective way to keep weeds out and prevent soil compaction until you are ready to plant. Then simply rake the mulch off when it is time to plant.
